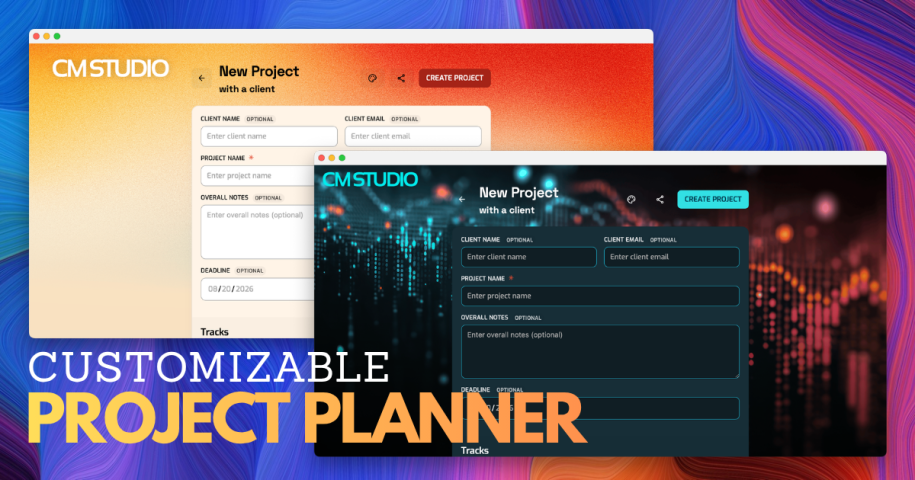
Let Clients Send Project Requests on Your Branded Project Planner
When a client opens your Project Planner link, it should feel like it came from your studio — not from some tool they’ve never heard of. That’s the idea behind this update.
Project Planner: The Fastest Way to Initiate a Production Project
If you haven’t used Project Planner yet: it’s the part of Opusonix that lets you set up a project — a title, an optional deadline, one or more tracks — and use it as the intake point for the whole job. You upload per-track mixes, leave project-wide notes, and drop track-specific notes right where the work is happening.
A lot of engineers and producers use it two ways: internally, to keep their own sessions organized, and externally, by sharing their public Planner URL (or embedding it on their website) so clients can kick off a project request without an email back-and-forth.
What’s New
Project Planner can now carry your studio’s identity instead of ours. You can set:
- Custom colors — background and text colors that match your studio’s palette
- A banner image — your logo, your studio photo, whatever represents your brand at the top of the planner
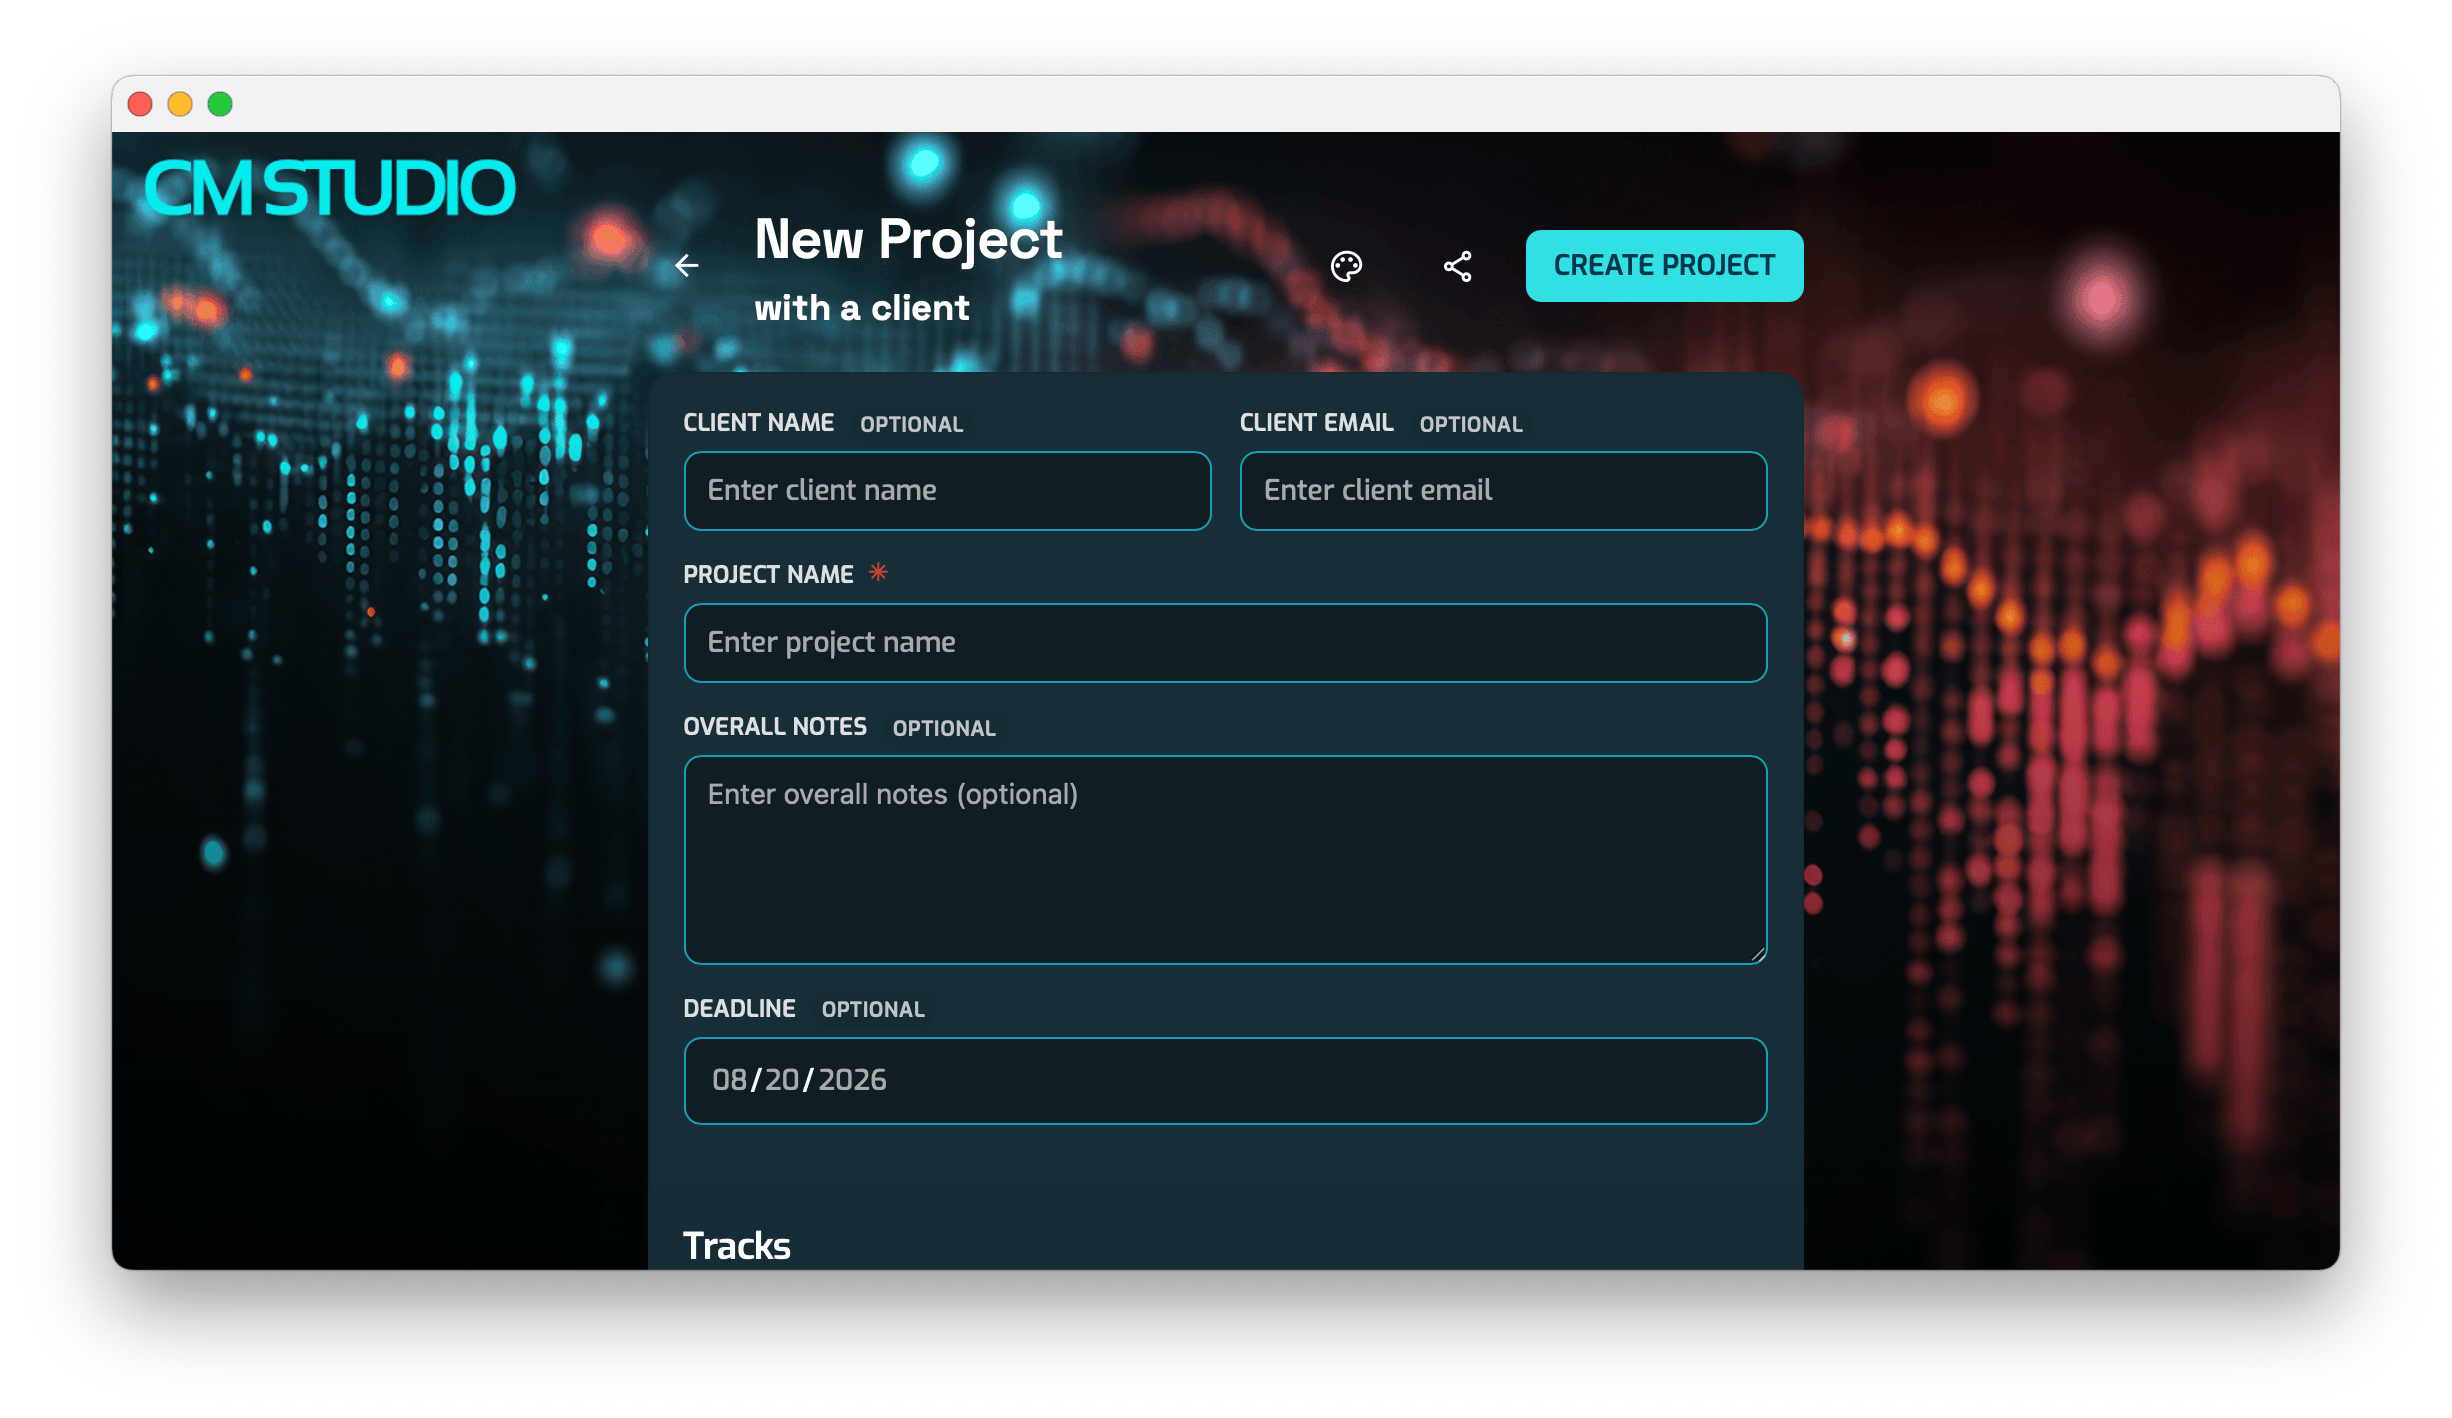
Once it’s set, anyone who opens your shared Planner link — or fills it out through your embedded version — sees your studio’s look from the first click, not a generic form.
Why Client Trust Starts at Intake
Client trust is built before a single note gets mixed — starting with how a project actually begins. For most engineers and producers, that’s still a phone call, a text thread, or a scattered email chain, with no real structure for a client to spell out what they need or hand off a reference mix.
A branded Project Planner replaces that with something both sides can actually see and use. Pull it up with a client at a coffee shop and build the project together on the spot, or send them your link and let them set up the tracks, notes, and initial mixes on their own — either way, you and the client are both looking at your studio’s colors and logo, not a generic form.
That consistency, at the exact moment a project starts, is what makes a studio feel established instead of improvised.
How To Set It Up
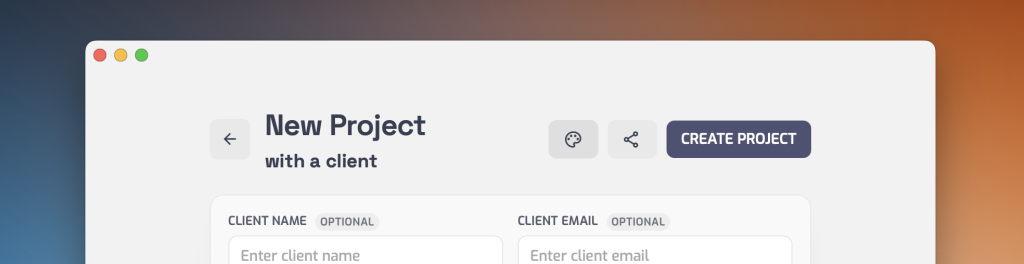
It’s very easy to personalize your Project Planner:
- In your Opusonix dashboard, click on the “New Work with Client” button near the top
- Click on the “Color Palette” icon to reveal the customization panel.
- Upload an image (optional), and configure the colors.
- Click “Done” to save the settings.
Some tips about image placement
First, ensure that your image is under 2MB in size. Then, you should know that the banner can be aligned center, left or right. And you can choose whether the image should be scaled up to full width, scaled up to the available height, or not scaled at all.
If you have a small image that’s your studio logo only, then you should use scaling option 3 (not scaled), and aligned to the left. Otherwise, creating a full-width banner and enable scaling to width (scaling option 1) probably works the best.
Finally, it’s best to use a transparent PNG image, or an image that ends with a solid color. That way you can set the background color value to match the boundary of your image, making the boundary of your banner image invisible.
Reminder – Planner Guest Access Mode
Not new, but worth repeating since a lot of people miss it: Project Planner has a public access toggle (Pro plans) that turns your planner into a shareable link. Drop it in an email signature, put it on a business card, or embed it directly into your own website — clients can start a project with you without an Opusonix account or any setup on their end.
With branding now in the mix, it’s an even better time to turn it on if you haven’t already. To enable/disable this option, and/or to get the link to your planner, click on the “Share” button near the top of your planner screen.
Try It Out
This feature is now available, and you should take a take it for a spin. Match your planner to your studio in a couple of minutes, and it’s a small change that your clients will notice.